
Understanding Automotive Exhaust Brake Valves: Working Principles, Operation, and Maintenance
Automotive brake valves, specifically exhaust brake valves, play a critical role in heavy-duty vehicle safety by utilizing engine resistance to slow down a vehicle. This article covers how they work, how to operate them correctly, and essential maintenance steps to ensure long-term reliability.
1. How an Exhaust Brake Valve Works
An exhaust brake valve generates braking force by restricting the flow of exhaust gases. This creates high backpressure in the exhaust manifold, forcing the engine to work harder on its exhaust stroke. This rotational resistance travels back through the drivetrain to slow down the vehicle.
Types of Actuation Systems
Exhaust brake systems generally fall into two categories based on how they control the valve:
• Electronically Controlled Pneumatic System: Uses electrical signals to manage compressed air, which opens or closes the exhaust valve.
• Electronically Controlled Vacuum System: Uses electrical signals to manage a vacuum device to open or close the valve.
Core Components (Pneumatic System)
The widely used electronically controlled pneumatic exhaust brake system consists of three main parts:
• Solenoid Valve: Controls the flow of compressed air.
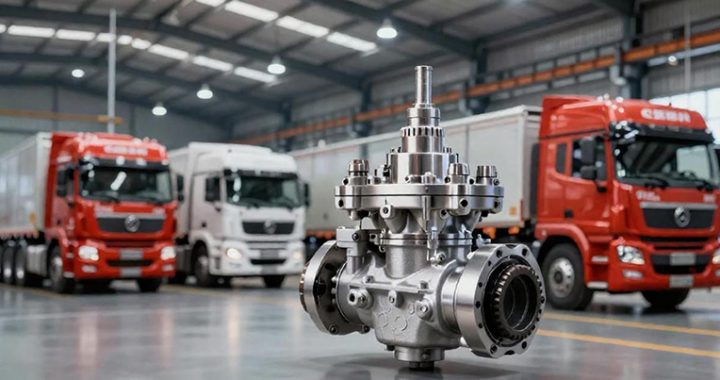
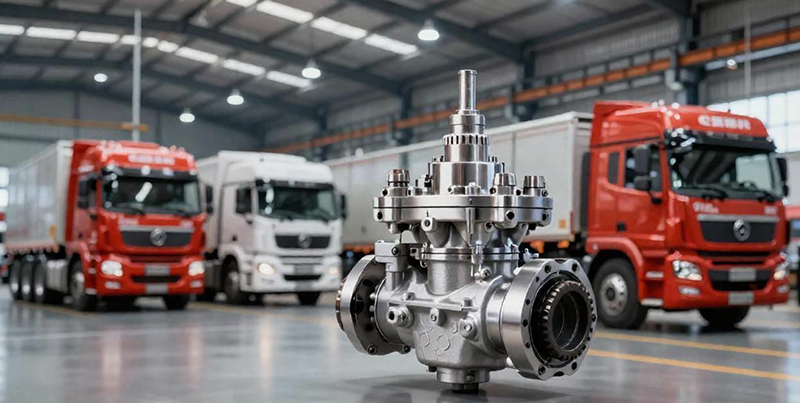
• Exhaust Brake Valve Body: The actual butterfly valve inside the exhaust pipe that blocks the gas.
• Operating Cylinder (Actuator): Mechanically moves the valve based on air pressure.
2. Proper Operation & Usage Guidelines
When and How to Use It
Exhaust brakes are highly effective when driving downhill or navigating long, steep slopes. Using the exhaust brake reduces the burden on your primary service brakes (wheels), preventing brake fade and reducing driver fatigue.
The Activation Process:
1. The driver flips the exhaust brake switch.
2. This connects the system to the vehicle’s battery power, activating the solenoid valve.
3. Compressed air from the air tank flows into the operating cylinder.
4. The cylinder closes the exhaust valve, creating engine braking resistance.
5. The exhaust brake indicator light illuminates on the dashboard.
Important Safety Notes
• The Dashboard Light is Only an Indicator: The light turning on only means the switch is engaged. It does not guarantee that the mechanical valve has successfully closed or that braking force is actively being applied.
• Avoid Improper Grounding: Never ground the wire connecting the exhaust brake solenoid valve to the accelerator pedal switch. Doing so will cause the exhaust brake to remain permanently engaged, which can severely damage the engine.
3. Inspection & Maintenance Procedures
Regular maintenance ensures the exhaust brake system operates smoothly and safely.
Performance Testing
To test the efficiency of the exhaust brake, find a flat, straight road. Drive the vehicle at a medium speed, completely release both the accelerator and clutch pedals, and flip the exhaust brake switch. Check if the indicator light comes on and verify if the vehicle noticeably decelerates.
Routine Mechanical Checks
• Shaft Flexibility: Regularly check if the valve’s rotating shaft turns freely. Ensure it is not binding or excessively loose.
• Carbon Buildup: Inspect the valve for excessive carbon deposits. Heavy buildup can trap the valve and prevent it from returning to its fully open position.
Adjusting Valve Clearance
To prevent the valve from sticking due to thermal expansion, maintain a precise clearance between the valve plate and the valve body.
• Standard Clearance: 0.4 to 0.6 mm.
• Adjustment Steps:
1. Loosen the locking nuts on both ends of the stop bolt and fully close the valve.
2. Turn the adjustment bolt until the gap between the valve plate and the body is exactly 0.4–0.6 mm.
3. Turn the stop bolt to adjust the valve back to a fully open position (where the valve plate is perfectly parallel to the exhaust flow).
4. Tighten and secure the locking nuts.